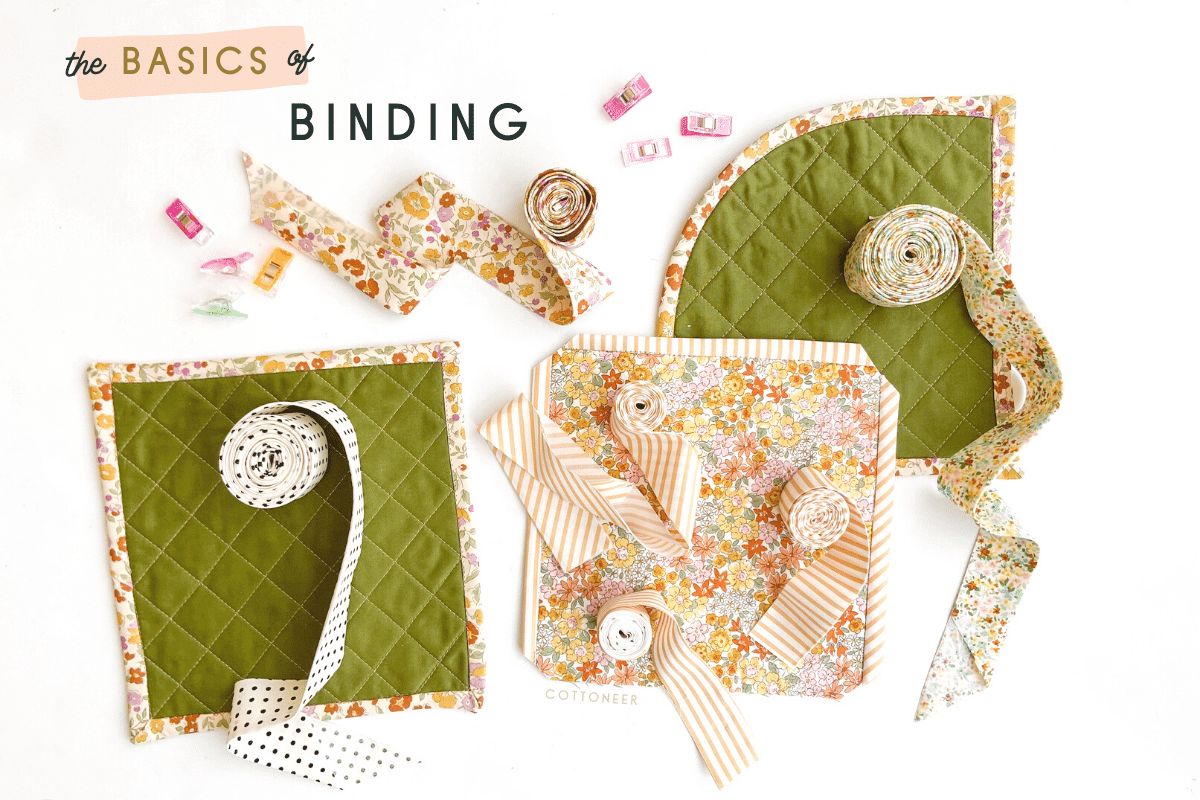
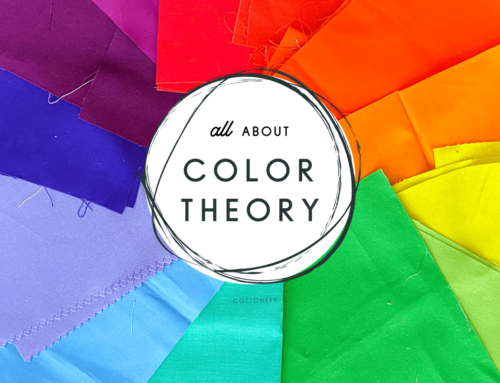
What is Binding?
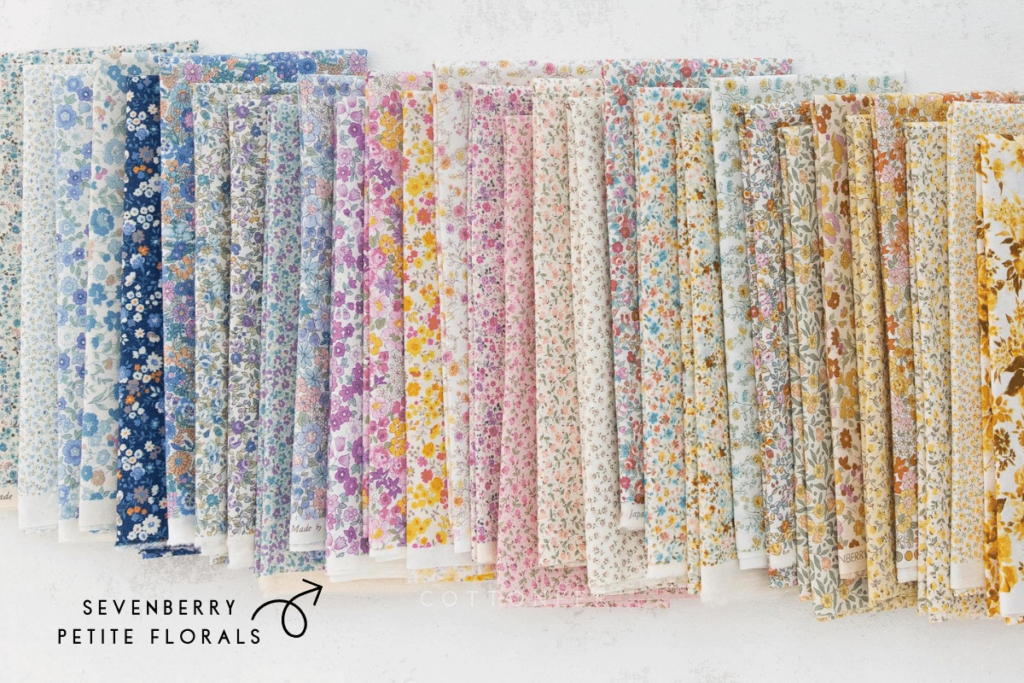
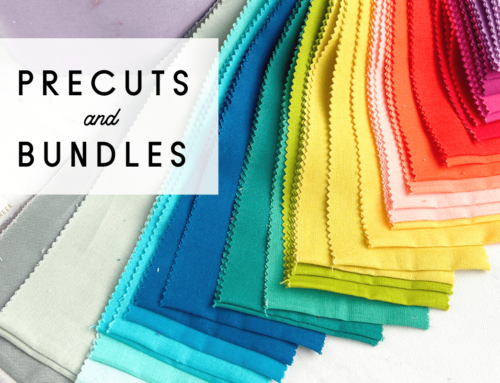
Binding refers to a narrow strip of fabric attached along the edge of a project. It hides raw edges, so they don’t show or fray, and makes then look nice and finished. Binding can be used along the outer edges of a quilt, along necklines or armholes on garments, and more! Almost any fabric will work to make binding. However, given how narrow binding is, small prints like these Sevenberry Fabrics in petite florals, polka dots and stripes work really well! Check out all of the fabulous options in our 30-count ultimate petite floral bundle below!
Types of Binding
Remember our post about fabric grain? Binding strips can be cut on the straight (or lengthwise) grain, cross grain or bias grain – each offers a different amount of stretch and flexibility. We will outline which is best used for quilts or apparel.
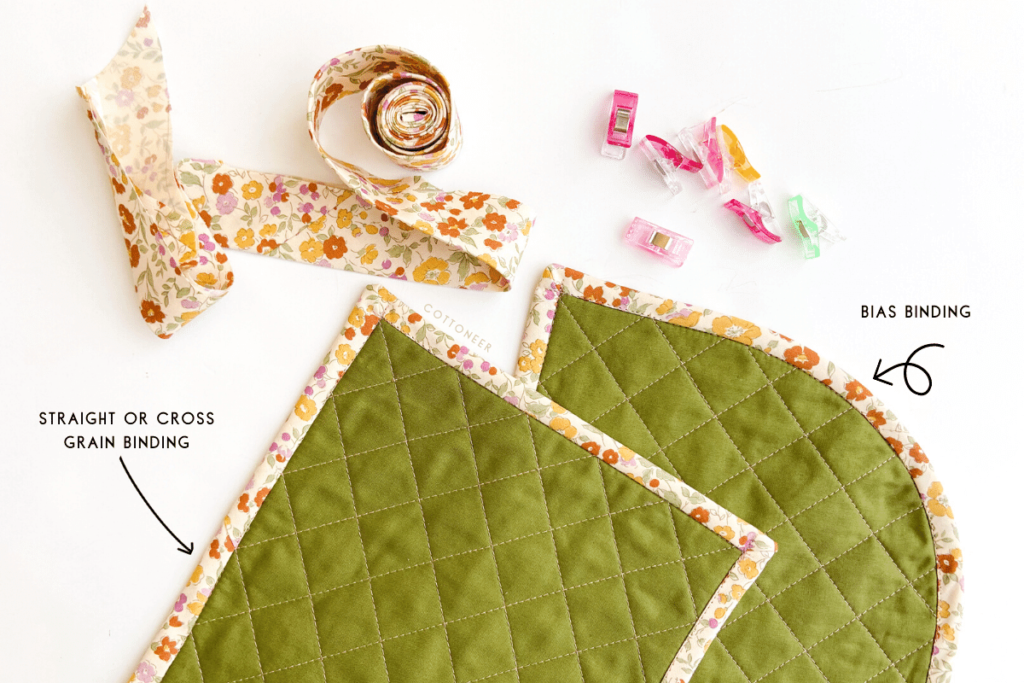
- Straight Grain Binding: Strips are cut along the grain of the fabric, parallel to the selvedge. This type of binding has the least stretch. This is a great option for binding quilts with straight edges.
- Cross Grain Binding: Strips are cut along the grain, but across the fabric from selvedge to selvedge. This type of binding has a small amount of stretch. This is a great option for quilts with a lot of bulk.
- Bias Binding: Strips are cut at a 45-degree angle to the fabric grain. This type of binding has the most stretch and is best used for apparel finishes like armhole seams, and curved edges.
Which Type of Binding Should I Use?
The type of binding you use on a project depends on how much flexibility and durability you need.
- Flexibility: If your final project has long straight lines (like a quilt), straight or cross grain binding will likely work just fine. But if your project is curvy (think garment armholes, necklines and hemlines, or quilts with curved corners), a flexible and stretchy bias binding will be able to make the turns more easily and lay nice and flat.
- Durability: Different types of binding offer different thread coverage along the edge of your project too. More thread coverage = increased durability. Here’s what we mean:
- Straight & Cross Grain Binding: These types of binding have the least amount of thread coverage. The fold of the binding lines up with a single thread. And that one thread takes all the wear and tear along the edge of your project. For quilts that get moderate use, this typically isn’t an issue, but for quilts that will get heavy use (like baby quilts), you may want to consider bias binding for extra durability.
- Bias Binding: When binding strips are cut on the bias, there is more thread coverage along the fold and the same threads are not always on the outside. This provides an extra level of durability because multiple threads share the wear and tear along the edge.

How do I Make Bias Binding?
First calculate your fabric needs. The easiest way to do this is to download the QuiltingCalc app by Robert Kaufman and enter in your quilt dimensions, desired binding width, and the width of fabric (WOF) of the yardage you’ll be cutting it from. Select “bias binding” and boom. It gives you the total binding length and the amount of fabric you need to make it.
Bias binding can be made one of two ways – with individual strips or as continuous binding.
- Strip Binding: Cut individual strips from fabric on the diagonal and join them together with a mitered seam. Easy peasy.
- Continuous Binding: This unique form of cutting is a bit more complex, but it’s faster than strip pieced binding and results in fewer seams.
How do I Make Continuous Bias Binding?
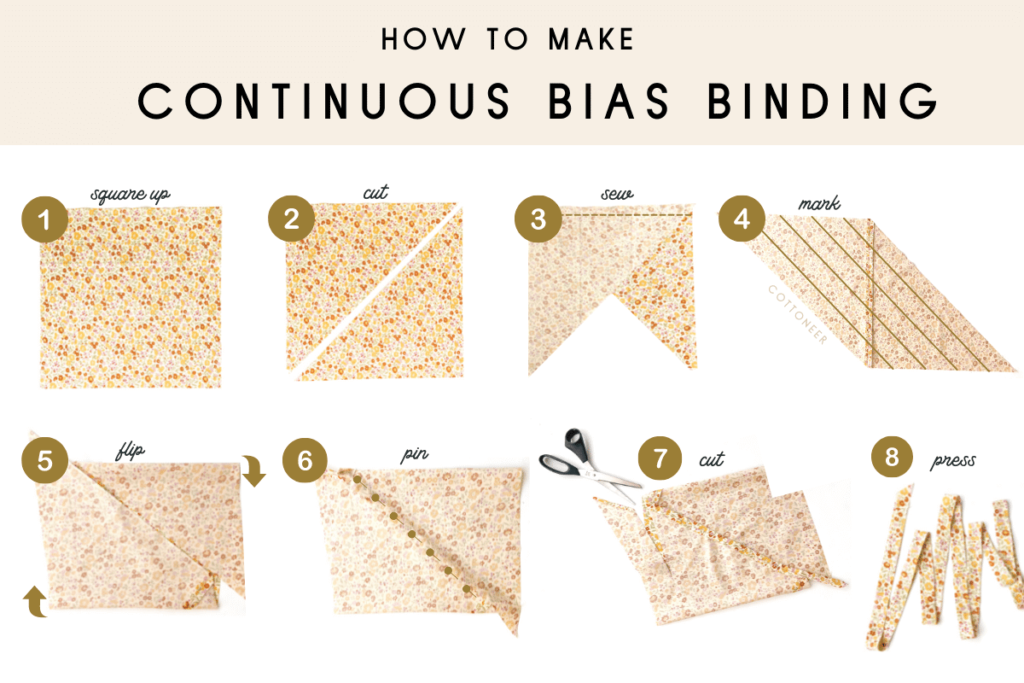
- Cut a square piece of fabric.
- Cut the square at a diagonal to create two symmetrical triangles.
- Rotate the triangles and flip one of them over so that the right sides are together (see image above); sew a ¼” seam across the top.
- Press the seam open and trim any dog ears. You now have a trapezoid. Measure and mark the wrong side of the fabric with lines that represent the width you want your final binding to be. Hint: 2.5” is a common quilt binding width.
- Flip your trapezoid over so the right side is facing up. Fold the top and bottom edges toward the center to meet. Hint: you want them to be offset by one strip measurement (see image above).
- Match up the lines you drew and use binding clips or pins to hold right sides together. Sew a ¼” seam. If it feels a little awkward as you sew, you’re doing it right!
- Press the seam open and cut along your line, starting at one end and cutting around continuously until you have one long strip.
- Press your binding in half lengthwise. Your bias binding is now ready!

Tips for Making Bias Binding
- Think about how your final project will be used. Even if you have all straight edges, if the item is going to be used A LOT, consider a bias binding to increase its durability.
- Take a close look at the fabric you plan to use for your binding. Prints can take on a completely different look when cut straight on grain vs. diagonally on the bias. See below for how the same striped fabric takes on a new look when cut on the straight grain, the cross grain and the bias.

- No matter which method you use to make your bias binding, press your seams open to minimize bulk along the edges of your project.
- Be careful not to pull and stretch your bias binding as you sew it on. Lay it flat as you go around the curves and keep it as relaxed as possible. Use binding clips or pins to hold it in place every inch or so if helpful.
Is Bias Binding and Bias Tape the Same Thing?
Bias tape is bias binding just folded a certain way. While bias binding for quilting is simply folded in half, the extra folding of bias tape makes a thinner binding that’s great for a variety of sewing projects.

While you can certainly make your own bias tape, there are also many convenient pre-made options on the market in a variety of widths. Bias tape is most commonly sold as single fold or double fold. Single fold bias tape is a long strip with both raw edges folded in toward the center. Double-fold bias tape takes it one step further and folds that single folded bias tape in half lengthwise.


Great instructions, thank you so much.
Hi…from Vancouver Island, BC Canada.
I’ve just come across your website via a frequent email I receive and clicked on this article re BINDING.
This is the VERY BEST article I’ve ever read, so thorough and easy to follow and the photos amazing. Just wanting to express my sincere appreciation! Jean.